Keeping Your Coop Warm Without the Headache
Let’s be honest: chicken coops are brutal on equipment. Between the thick dust, the ammonia, and the constant dampness, most heaters just give up. Usually, when a heating tube burns out after a few years, you’re stuck ripping out the entire housing just to fix one part. We thought that was a waste of time. So we did things differently.
Swapping parts, not systems
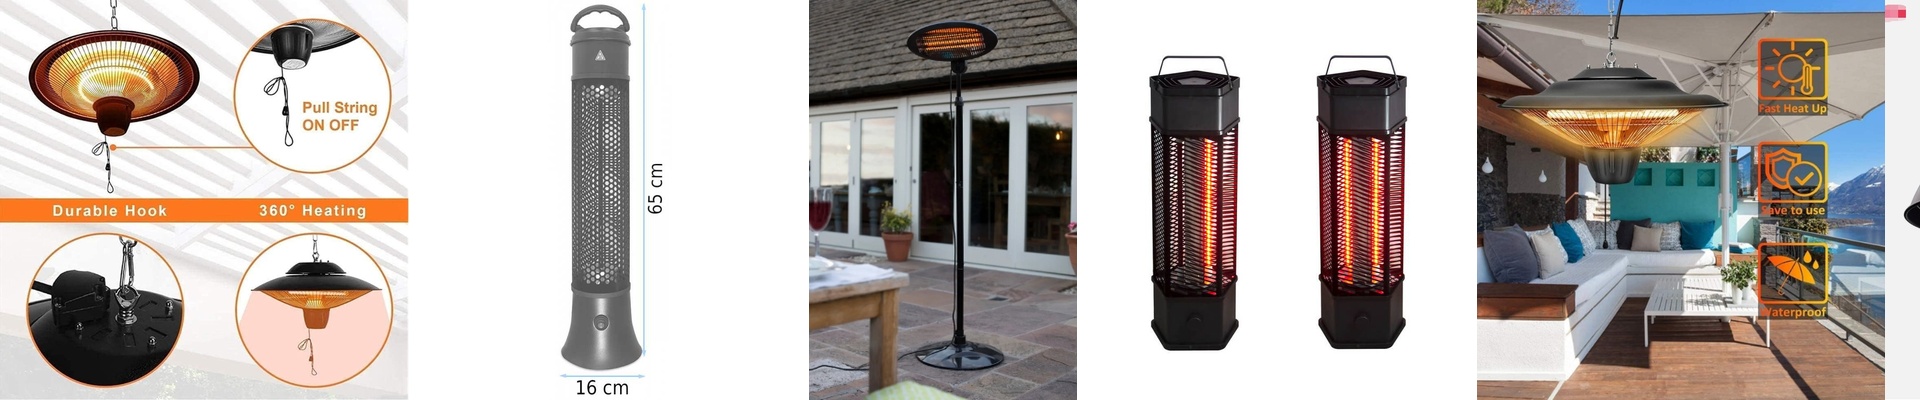
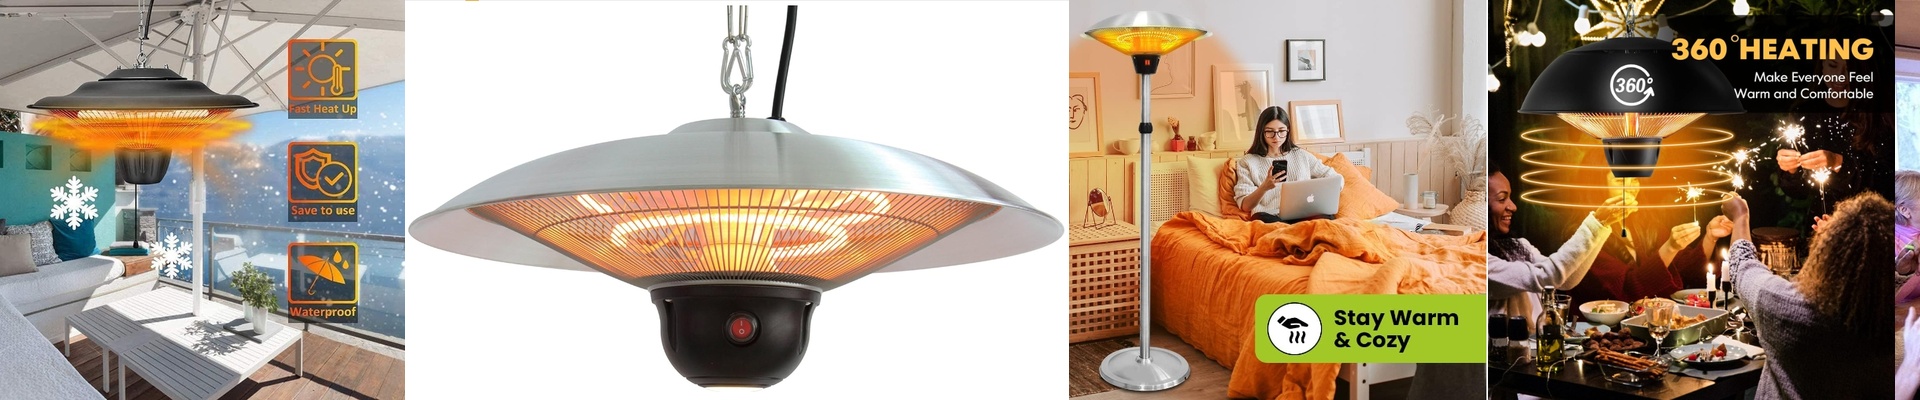
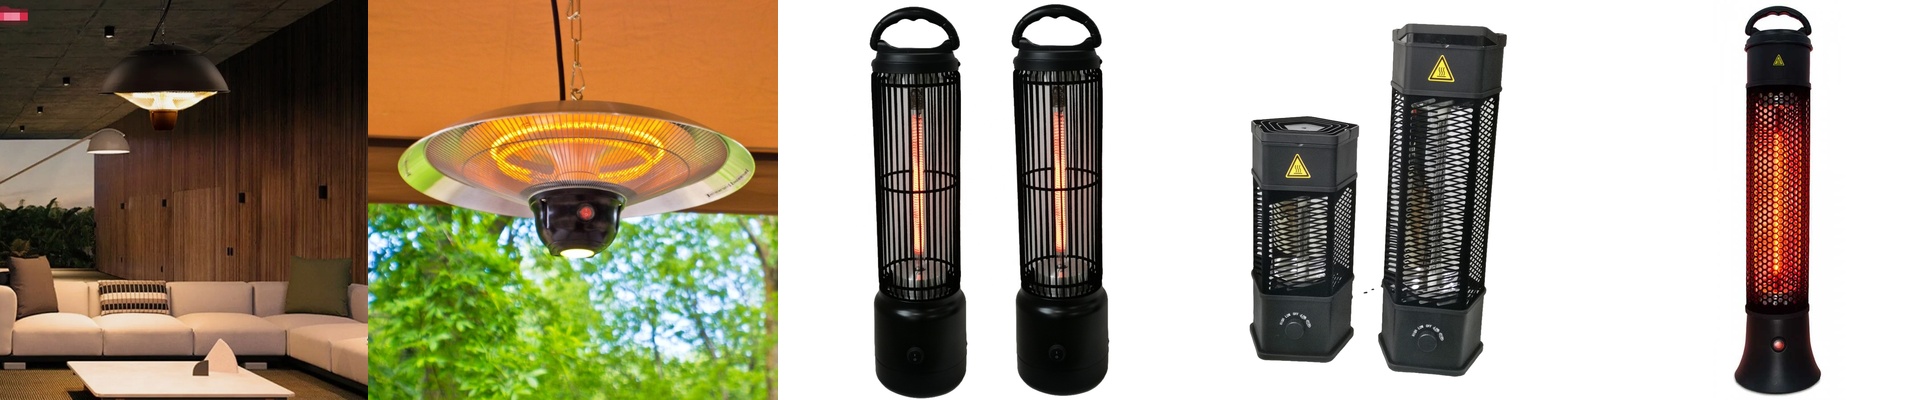
We built our infrared arrays with a modular chassis. Instead of soldering everything into one giant, permanent mess, we used plug-and-play connectors. Here is why that matters. Imagine it’s a freezing Tuesday morning and a tube goes dead. You don’t have to spend your day rewiring the whole system while shivering in the cold. You just pull the dead tube out, slide a new one in, lock it down, and you’re done.It’s that simple.
The reality of waterproofing
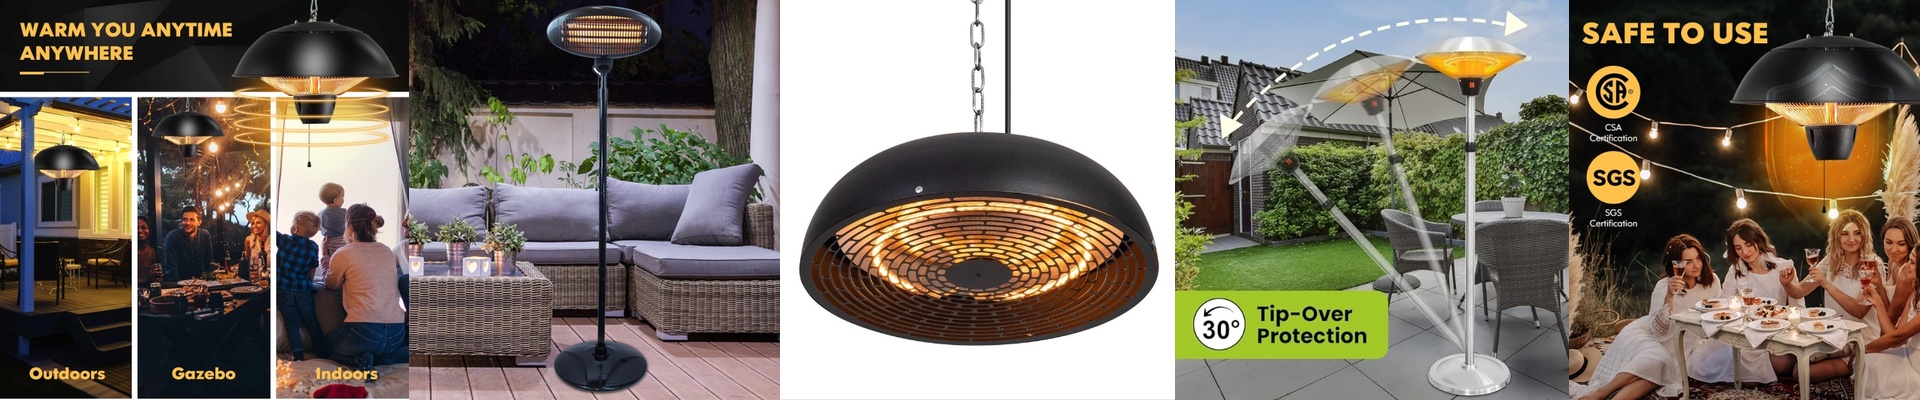
Now, keeping moisture out isn’t magic—it takes a bit of work. We seal the connection points tight to protect the electronics from all that coop humidity. The catch? You have to be careful during the first setup. You’ve got to make sure the gaskets are seated perfectly. If a seal gets pinched, moisture sneaks in, and you’ll start seeing corrosion on the terminals. It takes a few extra minutes of focus during the install, but it beats watching your entire system crash a year later.
A smarter way to handle wear and tear
Most heaters are basically disposable. Once the element dies, the whole thing is headed for the landfill. We prefer to treat the heating tube like a consumable—kind of like a lightbulb. By keeping the Waterproof housing separate from the emitter, we keep your costs way down. It’s a lot easier on the wallet to replace a $20 tube than to buy a whole new $200 heater. Plus, your birds stay warm and you spend less time playing electrician.